




How to fix shaky hands photography 8 Pro Techniques for Sharp Photos
How to fix shaky hands photography is nothing more frustrating than capturing a perfectly composed moment, only to realize later that hand tremors or camera shake turned it into a blurry mess. Shaky hands are a common challenge, affecting everyone from beginners carrying heavy gear to experienced photographers shooting in low light.
Fortunately, you don’t need a medical solution or an expensive How to fix shaky hands photography to fix this. By mastering a few physical adjustments and camera settings, you can lock in tack-sharp images every time.
Here is your ultimate blueprint on how to fix shaky hands in photography.
1. Master the “Reciprocal Rule” (Shutter Speed Formula)
The easiest way to beat shaky hands is to outrun them with your camera’s shutter speed. If your shutter is fast enough, the camera won’t have time to register your hand’s micro-movements.
Follow the Reciprocal Rule: Your shutter speed should be at least $1$ divided by your lens focal length.
- If you are using a 50mm lens, your minimum handheld shutter speed should be $1/50\text{s}$.
- If you are using a heavy 200mm telephoto lens, your minimum speed should be $1/200\text{s}$.
- VIP Tip: If you have chronically shaky hands, double it (e.g., use $1/400\text{s}$ for a 200mm lens).
2. Adopt the “Sniper” Stance (Body Mechanics)
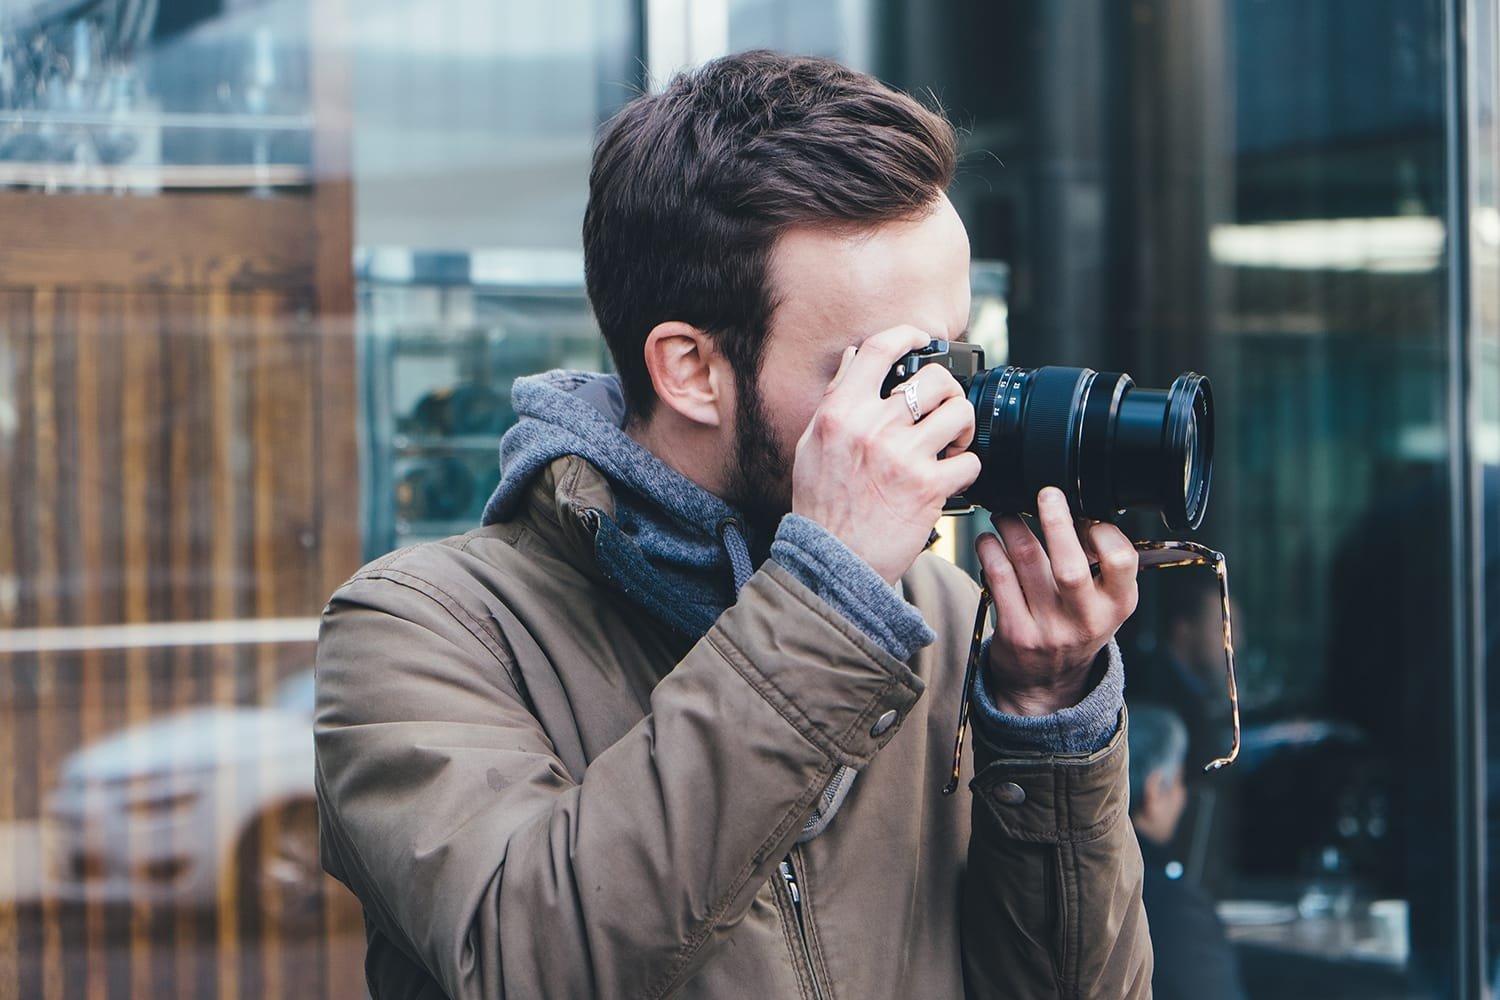
How you hold your body is just as important as how How to fix shaky hands photography you hold your camera. Stop shooting with your elbows flared out. Instead, turn your body into a human tripod:
- Tuck Your Elbows: Force both elbows tight against your ribs. This creates a solid structural shelf for your camera.
- The Left-Hand Cradle: Never hold the camera exclusively by the grip. Cradle the bottom of the lens barrel with your left palm, facing upward.
- The Sniper’s Breath: Do not snatch or punch the shutter button. Take a deep breath, exhale halfway, hold it gently, and roll your index finger over the shutter release.
3. Turn On Image Stabilization (IS / VR / IBIS)
Modern technology is designed to fight shaky hands. Ensure your gear’s stabilization systems are active:
- Lens Stabilization: Check your lens barrel for a switch labeled IS (Image Stabilization), VR (Vibration Reduction), or OS (Optical Stabilization) and slide it to ON.
- In-Body Image Stabilization (IBIS): If you use a modern mirrorless camera, dive into the shooting menu and enable sensor-shift stabilization.
- ⚠️ Important Warning: If you mount your camera onto a physical tripod, turn stabilization OFF. Otherwise, the camera might create a feedback loop trying to fix a shake that isn’t there, resulting in blurry photos.
4. Use the “Machine Gun” Method (Burst Mode)
When shooting handheld in challenging conditions, switch your camera drive mode from “Single Shot” to Continuous High-Speed (Burst Mode).
When you press and hold the shutter to take 4–5 quick shots in a row, the physical act of pressing the button shakes the first frame. The middle frames (shots 2, 3, and 4) are almost always perfectly sharp because your finger is already static on the button.
5. Lean, Lean, Lean
If you don’t have a tripod with you, look around your environment for structural support. You can instantly eliminate 80% of hand tremors by bracing yourself:
- Lean your shoulder firmly against a brick wall or tree trunk.
- Rest your elbows on a flat table, fence, or car hood.
- Drop down to one knee and rest your left elbow on your raised knee for an instant crouched tripod stance.
6. Upgrade Your Camera Strap Utility
Your camera strap isn’t just for safety; it can act as a tension stabilizer. Wrap the strap around your wrist or neck tightly, then push the camera away from your body until the strap is completely taut. This outward tension stabilizes the camera against your shaky hands, acting like an invisible steady-cam.
Quick Settings Cheat Sheet to Stop Motion Blur
| Scenario | Recommended Setting | Why it Works |
| Broad Daylight | Keep Shutter at $1/500\text{s}$ or higher | High light allows fast speeds without grain. |
| Low Light / Indoors | Push ISO up ($1600 – 6400$) | Allows you to keep shutter fast despite darkness. |
| Heavy Telephoto Lenses | Use a Monopod | Takes the physical weight off your wrist muscles. |
| Static Landscapes | Use 2-Second Self-Timer | Eliminates the shake caused by your finger clicking the button. |
Frequently Asked Questions (FAQs)
Can Adobe Lightroom or Photoshop fix a blurry, shaky photo?
Only minor micro-shakes can be masked using the Sharpening or Shake Reduction filters in post-processing. If the image has severe motion blur from shaky hands, software cannot recreate those lost details. It is always better to get it right in-camera.
Why do my hands shake more when using a telephoto lens?
Longer lenses (like 70-200mm or 300mm) act like magnifying How to fix shaky hands photography glasses. Not only do they magnify the subject, but they also magnify your smallest hand movements exponentially. They are also heavier, causing fast muscle fatigue.
What is the best budget gear to completely eliminate hand shake?
If you cannot afford a motorized gimbal, a Monopod is the best budget alternative. It is lightweight, sets up in seconds, and takes 100% of the camera’s weight off your hands while allowing you to move around freely.